


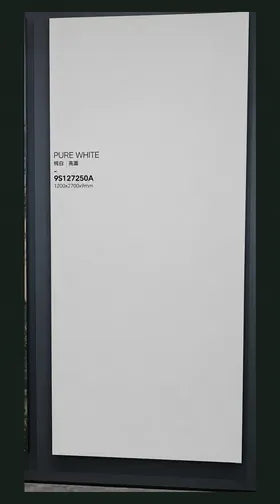
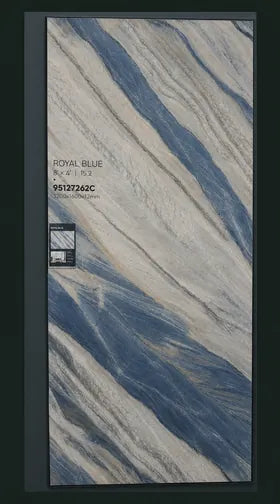
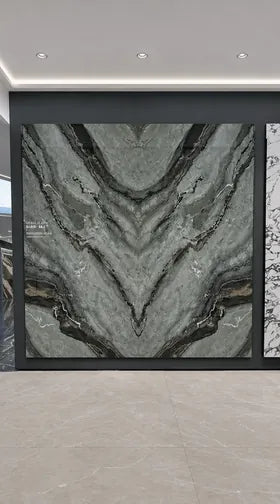
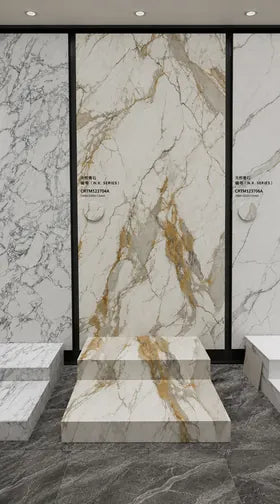




Natural-stone dry cladding carries a solid stone slab on mechanical anchors that engage the stone itself. A sintered-stone panel with PU fiberglass aluminum honeycomb backing carries a thin face on a bonded sandwich panel, with rear connections made into the backing. Both can be dry-hung; the difference is what is being hung and where its connections transfer load.
Choose natural stone when genuine quarry variation and worked stone edges are central to the design. Shortlist the PU honeycomb route when a thin sintered-stone finish, factory-prepared panels and lower facing weight are priorities, particularly in recladding. The selected exterior panel weight and connection design still govern the proposal.
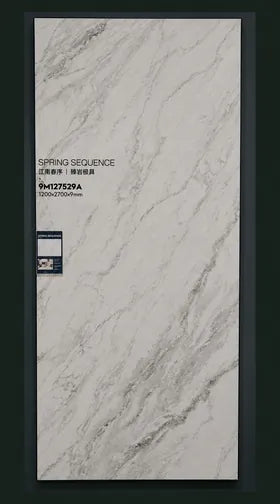
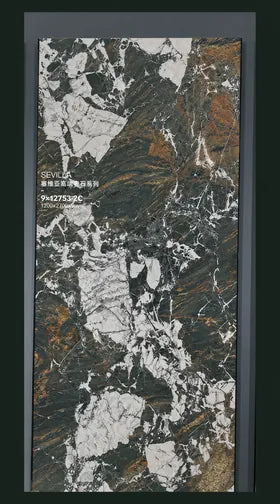
Here, sintered stone describes the facing; Funtek’s product documents also use porcelain for this face material. The comparison below is natural stone versus a sintered-stone composite, with PU fiberglass skins and an aluminum honeycomb core.
Natural Stone and PU Honeycomb Panels Side by Side
Swipe sideways to compare the two systems; select an image to enlarge the detail.
| Comparison | Natural-stone dry cladding | Sintered stone + PU fiberglass honeycomb |
|---|---|---|
| Surface and appearance |
 Genuine quarry stone; variation, finish and worked stone edges follow the selected material. |
 A thin sintered-stone face; surface design and pattern direction are coordinated with the panel layout. |
| Panel construction |
 Solid stone slab with the reinforcement, if any, specified for that stone system. |
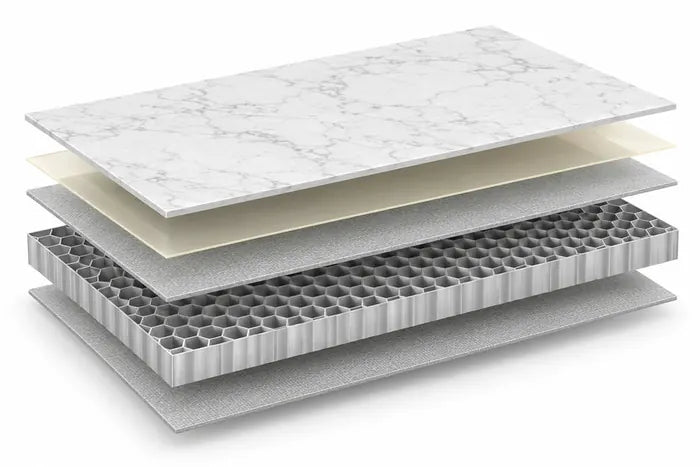
 Sintered-stone face + adhesive + PU fiberglass skin + aluminum honeycomb core + PU fiberglass skin. |
| Where the fixing engages |
 A machined kerf, edge hole or rear undercut in the stone. |
 The prepared backing connection; Funtek’s exterior detail uses a locally reinforced M8 stainless insert. |
| Factory and site work |
 Cut, finish and machine the stone; fit compatible anchors and install the support system. |
 Laminate, prepare inserts and edges in the factory; connect profiles, hang and align the panels on the site support frame. |
| Weight and handling |
 The stone’s density, thickness and area set the panel mass. The worked 20 mm marble example below is 53.98 kg/m². |
 Thin face plus cellular backing offers a lighter-panel route. Use the selected exterior build-up’s confirmed mass for the handling plan. |
| Corners and openings |
 Solid stone can provide the visible cut/finished edge; each return still needs its own support detail. |
 Layered edges need a specified closure, water-management detail and coordinated return connection. |
The visible face may look similar from the street. A cut edge and the rear fixing reveal the construction: solid stone continues through the slab, while the composite has a thin decorative face over separate supporting layers.
How Each System Carries the Facade
Natural stone: the fixing engages the stone
In a conventional mechanically fixed stone facade, granite, limestone, marble or another selected stone forms the cladding slab. Kerf clips engage machined edge slots, pins enter drilled edge holes, or rear undercut anchors lock into shaped holes behind the slab. The stone around that connection transfers the load to the hardware.
This makes stone selection and machining part of the structural detail. An edge slot leaves stone on either side of the cut; a rear anchor requires a controlled hole depth and sufficient stone between the hole and the front face. The selected stone’s strength, slab thickness and connection geometry therefore belong together. As one named example, fischer’s FZP II SO R/AL uses a rear undercut connection for specified natural stones; its product scope follows the selected anchor and stone.
Natural-stone route: stone slab → stone-side anchor or clip → bracket or hanging profile → supporting frame and structural anchors → building structure.
PU fiberglass honeycomb: the backing supports the thin face
Funtek’s porcelain/sintered-stone honeycomb panel combines five layers: the sintered-stone face, adhesive, an upper PU fiberglass skin, an aluminum honeycomb core and a lower PU fiberglass skin. The skins and cellular core form a sandwich backing; the bonded face and backing work together as the panel.
“PU fiberglass aluminum honeycomb” identifies different parts of that backing. PU fiberglass describes the reinforced skins; aluminum describes the honeycomb core. This is a different build-up from aluminum skins surrounding an aluminum core, and from a solid PU insulation-foam core. The product’s layer drawing is the useful way to identify it.

The sandwich separates the skins across the depth of the core, increasing resistance to bending compared with the thin face alone. It also provides a backing in which a rear connection can be prepared. Funtek’s exterior detail shows a 3–6 mm face over 12–15 mm backing, with an M8 three-prong 304 stainless-steel nut and local epoxy backfill around the insert.
PU honeycomb route: sintered-stone face and bonded sandwich panel → reinforced backing connection → rear hanging profile → support brackets and frame → structural anchors and building structure.
The composite shifts the panel-side connection from a hole or groove in solid stone to a prepared connection in the backing. Its adhesive, skins, core and insert detail therefore form part of the exterior panel specification.
What Changes in Fabrication and Installation
Preparing natural-stone panels
The stone fabricator selects and lays out the slabs, cuts the modules, finishes the exposed surfaces and machines the fixing locations. Vein direction and natural variation affect the elevation layout; the anchor drawing establishes where holes or slots can be made. Rear brackets may also be factory fitted, so prefabrication is available on the natural-stone route as well.
On site, the contractor sets out structural anchors and supports, establishes the cladding plane, positions the slabs, engages their fixings and completes the restraint and adjustment details. The lifting plan follows each stone’s weight and geometry. Joint widths, bearing positions and movement allowances come from the selected system detail.
Preparing PU honeycomb panels
The composite manufacturer cuts the face, bonds the layers, prepares the backing connections and coordinates the edges and rear fittings against the panel drawing. This moves lamination and insert preparation into the factory. Panel identification then connects the finished piece with its position on the elevation.


Funtek’s exterior sequence in the technical guide, page 7, is:
- Level the subframe. The illustrated steel tubes or channel sections and steel angles establish the supporting plane at the wall.
- Fit the support brackets. Aluminum angle brackets attach to the horizontal steel frame.
- Attach the rear fittings. Hanging profiles connect to the panel’s prepared backing connections.
- Hang and align the panels. Engage the fittings, adjust the visible plane and joints, and complete the securing details shown in the project’s fixing drawing.

The honeycomb connection details distinguish exterior embedded nuts from interior riveted fittings. Keep the exterior M8 detail with the exterior panel drawing. A photograph of an interior clip identifies that component, while the exterior drawing establishes its own connection arrangement.
Factory-prepared fittings can simplify the work repeated at each panel. Surveying, structural anchorage, subframe alignment, lifting access and final restraint remain site tasks on both routes. Compare the actual installation method and supply scope when estimating labor.

Weight, Panel Size and Site Handling
A thinner sintered-stone face supported by honeycomb is a useful route to investigate when the existing structure or site access makes solid stone difficult to handle. The reason is the change in material volume: a cellular backing supports a thin face instead of carrying a full-thickness stone slab across the entire area.
For a concrete reference, Funtek’s product page uses a 20 mm marble example at approximately 54 kg/m², calculated with a density of 2,699 kg/m³. That density comes from Polycor’s marble EPD. Using the same density:
20 mm stone: 0.020 m × 2,699 kg/m³ = 53.98 kg/m².
1200 × 2800 mm comparison area: 3.36 m² × 53.98 kg/m² = 181.37 kg of stone.
30 mm at the same density: 80.97 kg/m², or 272.06 kg over 3.36 m².
These are mass calculations for the stated marble-density example. They illustrate the lifting consequence of thickness; the selected stone and fixing design determine whether that panel format is usable.
Funtek’s product page currently gives approximately 9–17 kg/m² as calculated composite-panel estimates. Its estimate uses the face thickness plus an allowance for backing and adhesive. The technical guide’s 9–16 kg/m² figure is a wall-panel comparison range. Use a weighed panel of the selected exterior M8 build-up to establish its handling mass before sizing the lift.
Add rear hardware, brackets, rails and other permanent components when comparing the complete facade load. A reduction in panel dead load also leaves wind suction and pressure to be resisted by the panel, fittings and structural anchors.
Funtek’s listed composite product size reaches 1200 × 3200 mm. The permitted exterior module for the selected face, backing and M8 fixing layout is [TO CONFIRM: exterior panel format and fixing layout]. Set the elevation module together with the lifting equipment, packing arrangement and installation access. The panel thickness and weight explanation helps keep face thickness, total thickness and handling mass distinct.
Edges, Openings and Outdoor Exposure
Natural stone offers a solid material at the cut edge. A designer can develop a reveal or corner using stone pieces with the desired finish, subject to their machining and support detail. The quarry material’s color and structure remain part of the exposed edge, which can matter where visitors see the facade at close range.
A composite edge exposes the face, bond line, skins and core. At a window, parapet or external corner, the drawing must show the closure and how water drains away. A return can be a separately supported piece or a fabricated corner arrangement, with its joints and rear connection designed as part of the panel. The edge and corner details develop these fabrication choices.
Edge closure protects the cellular backing and bonded interfaces from water entry. Flashings, joints and the cavity then manage water at wall scale. Laminam’s composite-panel guidance assigns the finished panel’s performance to its manufacturer/assembler and identifies edge sealing where needed to prevent waterlogging.
Funtek’s technical guide records bond strengths of 1.6 MPa after heat treatment, 1.7 MPa after water immersion and 2.2 MPa after 50 freeze–thaw cycles; those conditioned specimens were 15.40 mm thick. Its acid-treatment result is 0.7 MPa after 28 days on 15 mm specimens, meeting the listed ≥0.7 MPa criterion, with corrosion traces on exposed aluminum honeycomb. Read those results alongside the proposed closure and build-up in the technical-guide PDF.
Fire review also follows the assembly. Natural stone is one material layer; the composite adds adhesive and reinforced skins, while the complete wall adds insulation, cavity barriers and other components. For Funtek’s exterior proposal, [TO CONFIRM: 报告是否对应 PU 玻纤外挂构造]. Match the supplied fire documents to the ordered panel and local wall requirements. Selected-configuration wind-pressure evidence and any required EN/ETA or NFPA 285 documentation remain [TO CONFIRM: applicable exterior-system documents].
Which Projects Favor Each Route?
Choose natural stone for genuine stone character and worked details
Natural-stone dry cladding is a strong fit when the design depends on a particular quarry material, individual slab variation, textured stonework or solid worked reveals. Hotels, civic buildings and villas can all use that approach; the useful selection criterion is the material and detailing brief, rather than the building label.
Carry that route forward when the structure and lifting access can accommodate the chosen slabs, and stone-specific test data support their machined connections. Where a genuine stone requirement remains fixed but weight is the obstacle, investigate a natural-stone-faced lightweight system separately; a sintered-stone face changes the material choice.
Choose PU honeycomb for a thin manufactured finish and coordinated panels
The sintered-stone composite route is a useful shortlist for recladding with a tight dead-load allowance, or a new facade organized around repeated large panels and factory-prepared rear connections. The backing supports the thin facing during transport and installation, while a manufactured surface helps the designer plan repeated patterns and replacement stock.

This route fits when the project accepts sintered stone as the surface material and the factory can coordinate panel outlines, inserts, closures and the proposed support layout. A requirement for authentic through-body natural stone favors the stone route. A project awaiting acceptance of the composite’s exterior fire or wind evidence should settle that requirement before ordering.
For facade renovation, compare removal and recladding with overcladding, including the condition and position of existing supports. Lower panel mass gives more flexibility in the load budget; compatible geometry, sound structural anchors and suitable corrosion protection determine whether existing framing can remain.
Compare the Installed Scope Before Comparing Prices
Natural-stone pricing includes the selected stone, usable slab yield, finish, cutting, fixing-hole or slot machining and any special returns. Composite pricing includes the sintered-stone face, lamination, backing, insert preparation, closures and rear fittings. Both proposals also need a defined subframe, structural anchorage, lifting/access allowance and site installation scope.
Ask both suppliers to price the same elevation area and panel layout, with the supplied hardware and edge work identified. That separates a lower panel price from work carried elsewhere in the contract. The facade cost breakdown explains the installation and access items to include.
For the Funtek route, a useful comparison sample shows the selected face, the complete cut edge and the proposed rear connection. Combine it with the elevation module to see what will arrive as a factory panel and what the installer must provide on site.
Explore PU Honeycomb Panels for Your Facade
Tell Funtek the project location, approximate facade area and intended panel sizes. We can provide sintered-stone honeycomb panel options, sample information, available fixing details and a quotation for your comparison.